On Hispanic Heritage Month, we honor the heritage and pride of Latin Americans and Hispanics living in the United States. Throughout the month, you’ll find different activities that showcase Latin American art, food, historical figures, and culture.
What better way to teach Hispanic culture to your kids than through art? In this blog, you’ll find six Hispanic Heritage Month art projects that your little ones can do at home.
Cinco de Mayo Paper Flowers
To make your Hispanic Heritage Month more festive, try making these colorful paper flowers! These flowers are a staple at Cinco de Mayo, where Mexicans celebrate their cultural heritage.
This craft is super easy to make. And the best part? You can make as many as you like! To get started, you’ll need these materials:
- Tissue paper
- Stapler
- Colored string
- String (optional)
Instructions:
- Cut 5-8 tissue paper sheets into rectangles or fold them in half.
- Fold the sheets in accordion style.
- Staple them in the middle.
- Pull each sheet on one side towards the center, and then repeat with the other side.
- Let the two ends meet to form a crinkled flower shape.
- Once you’re done, grab a string and form a garland with the flowers you made.
Taino Rock Carvings
Taino petroglyphs are rock carvings, pecks, and etches found in the caves and rivers of Cuba, Puerto Rico, and the Caribbean. With its unique patterns and figures, your kids can get a glimpse of the Taino people’s culture.
Let your children make their own Taino rock carvings with this fun craft! All you need are the following:
- Clay
- Toothpick
- Round cookie cutter (optional)
- String (optional)
Instructions:
- Take a piece of clay and knead it until it’s smooth.
- Create a circle shape by using a round cookie cutter. If you don’t have one, you can simply form a ball and press it into a flat disk.
- Carve patterns into the clay using the pointed end of a toothpick. To make etching easier, dip your toothpick in water before drawing.
- Once you’re done, punch a hole into the clay and insert a string to make a necklace.
Chilean Rainsticks
Enjoy the sounds of rain with this Chilean rainstick craft! These rainsticks are traditionally made from dried cactus tubes that are hammered inside and filled with shells, small pebbles, and other items. The native people of Chile used them to summon rain spirits during droughts.
To make this musical instrument, you’ll need:
- Long cardboard tube (paper towel or wrapping paper tube)
- Dried rice, beans, or small pasta
- Aluminum foil
- Construction paper or cardstock
- Scissors
- Tape or glue
- Decoration (crayons, colored markers, paper cutouts, glitter, etc.)
Instructions:
- Trace one end of the cardboard tube on the construction paper.
- Draw a bigger circle around the first circle.
- Cut slits along the outer circle without touching the inner circle.
- Tape or glue each slit on one end of the tube.
- Cut a long strip of aluminum foil and twist it into a long, snake-like coil.
- Place the twisted aluminum foil inside the tube.
- Add the beans, rice, or pasta into the tube.
- Seal the other end of the tube using Steps 1-4.
- Decorate the rainstick to your kid’s liking. They can use markers, cutouts, glitter, and whatever design they like.
- Shake to your heart’s content!
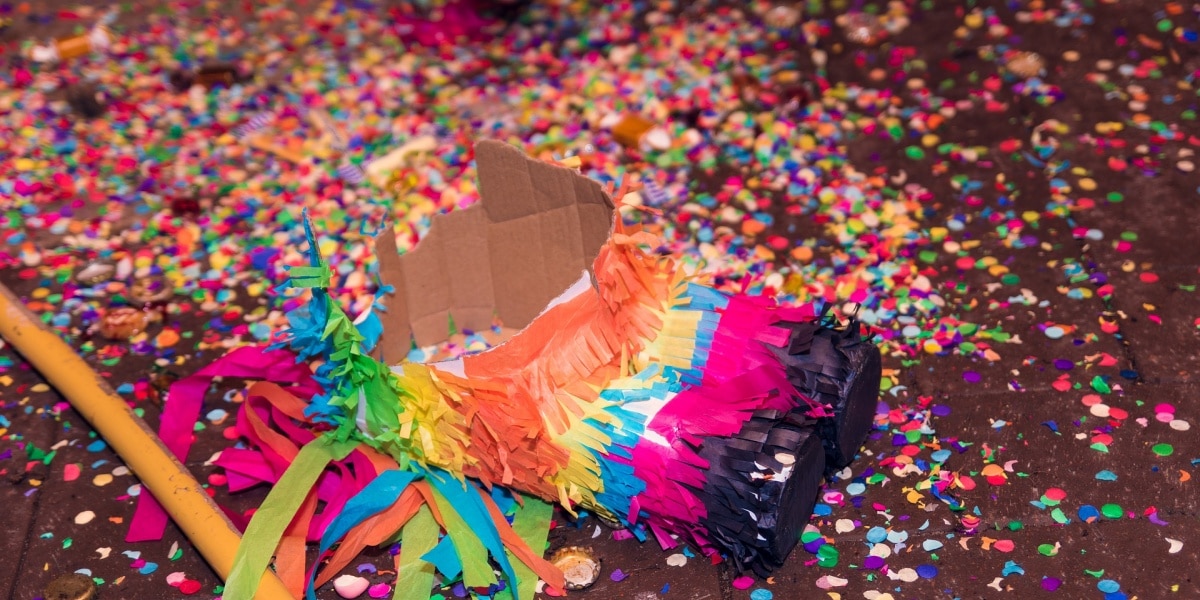
Piñata Paper Bags
Did you know that piñatas originally came from China? This clay pot game was originally used for Chinese New Year festivities. When it reached Mexico, it became huge mostly due to its similarities with Mayan and Aztec traditions.
Have paper bags lain around the house? Turn them into an exciting art project with this piñata paper bag craft! Here’s what you’ll need:
- Paper bag
- Colored tissue paper
- Thin rope or twine
- Stapler
- Scissors
- Glue
- Hole punch
- Treats (candy, coins, etc.)
Instructions:
- Fill half of the bag with your chosen treats.
- Place a few crumpled tissue papers on the top half of the bag.
- Fold the top of the bag two times and seal it with a stapler.
- For the base, cut your tissue paper around two inches bigger than your bag.
- Wrap the bottom of the paper bag with tissue paper and glue.
- Cut a few pieces of tissue paper into two-inch strips.
- Create one-inch long fringes on the paper strips.
- Add glue to the uncut part of the paper strips.
- Wrap the paper strips around the bag starting from the base.
- Glue the next paper strip so that it covers the uncut portion. Continue doing this until you reach the top.
- Once the bag is completely covered, create two holes on the top of the bag using your hole punch.
- Take a long piece of twine or thin rope and insert it through the holes you made. The length will depend on how high you’ll place the piñata.
- When you’re done, you can hang the piñata wherever you like!
Mayan Kites
When you think of the Day of the Dead, what comes into your mind first? For Guatemalans, it’s kites. This Mayan tradition is originally used to ward off evil spirits. Nowadays, it’s their way of communicating with their loved ones who have passed away.
Your kids, too, can easily make their own Mayan kite at home! For this project, you’ll need:
- A large Tyvek envelope
- Wooden embroidery hoop (ideally around 8-12 inches)
- Scissors
- Pencil
- Acrylic paint
Instructions:
- Cut the triangular flap off the Tyvek envelope.
- Cut the bottom edge and one side edge to fully open the envelope.
- Place an embroidery hoop on the blank side of the envelope.
- Trace a circle around the hoop using a pencil and remove it after.
- Then, draw a large circle outside the first one.
- Cut out the bigger circle.
- Use a compass or a plate to draw concentric circles on the blank envelope side.
- Paint your canvas using acrylic paint.
- Let the paint dry for a few minutes.
- Once it’s completely dry, place the paper inside the embroidery hoop.
- Cut ¼-inch fringes along the outside edge.
Hispaniola Decorative Plate
Got a few plates to spare? Don’t throw them away yet! Try making this cool Hispaniola decorative plate art instead. Your kids will surely enjoy learning about the designs and patterns from the native people of the Dominican Republic and Haiti.
Here are the materials you’ll need:
- Clay saucer or paper plate
- Light and dark green acrylic paint
- Sponge brush
- Black construction paper
- Scissors
- Black permanent marker
- Decoupage medium or glue
Instructions:
- Paint the plate with a light green color using a sponge brush. Allow it to dry.
- Lightly dab dark green paint over the light green surface and let dry.
- Using a black permanent marker, draw your design along the outside edge of the plate.
- Look for a figure of your liking and trace it on black construction paper.
- Cut out the pattern.
- Attach the symbol to the plate using glue or decoupage medium. If you’re using the latter, coat the surface of your plate and let it dry several times.
- Let it dry for a few minutes.
- Once it’s done, display your masterpiece on your kitchen wall!
Get Crafty with Hispanic Heritage Art Projects
The month-long Hispanic Heritage Month celebration allows us to appreciate the uniqueness of Latin American cultures. Through these crafts, you can expose your kids to a wide variety of cultures around the world.
For more crafts ideas and child development advice, head over to the Rayito de Sol blog.


